These classic ground beef tacos bring back the authentic, nostalgic flavors of home-cooked meals while improving upon them with a robust homemade seasoning blend. By balancing juicy, well-browned beef with aromatic onion and garlic, this recipe provides the perfect foundation for a customizable and satisfying taco night. Follow this guide to prepare a crowd-pleasing dinner that is both quick to assemble and deeply satisfying for everyone at the table.
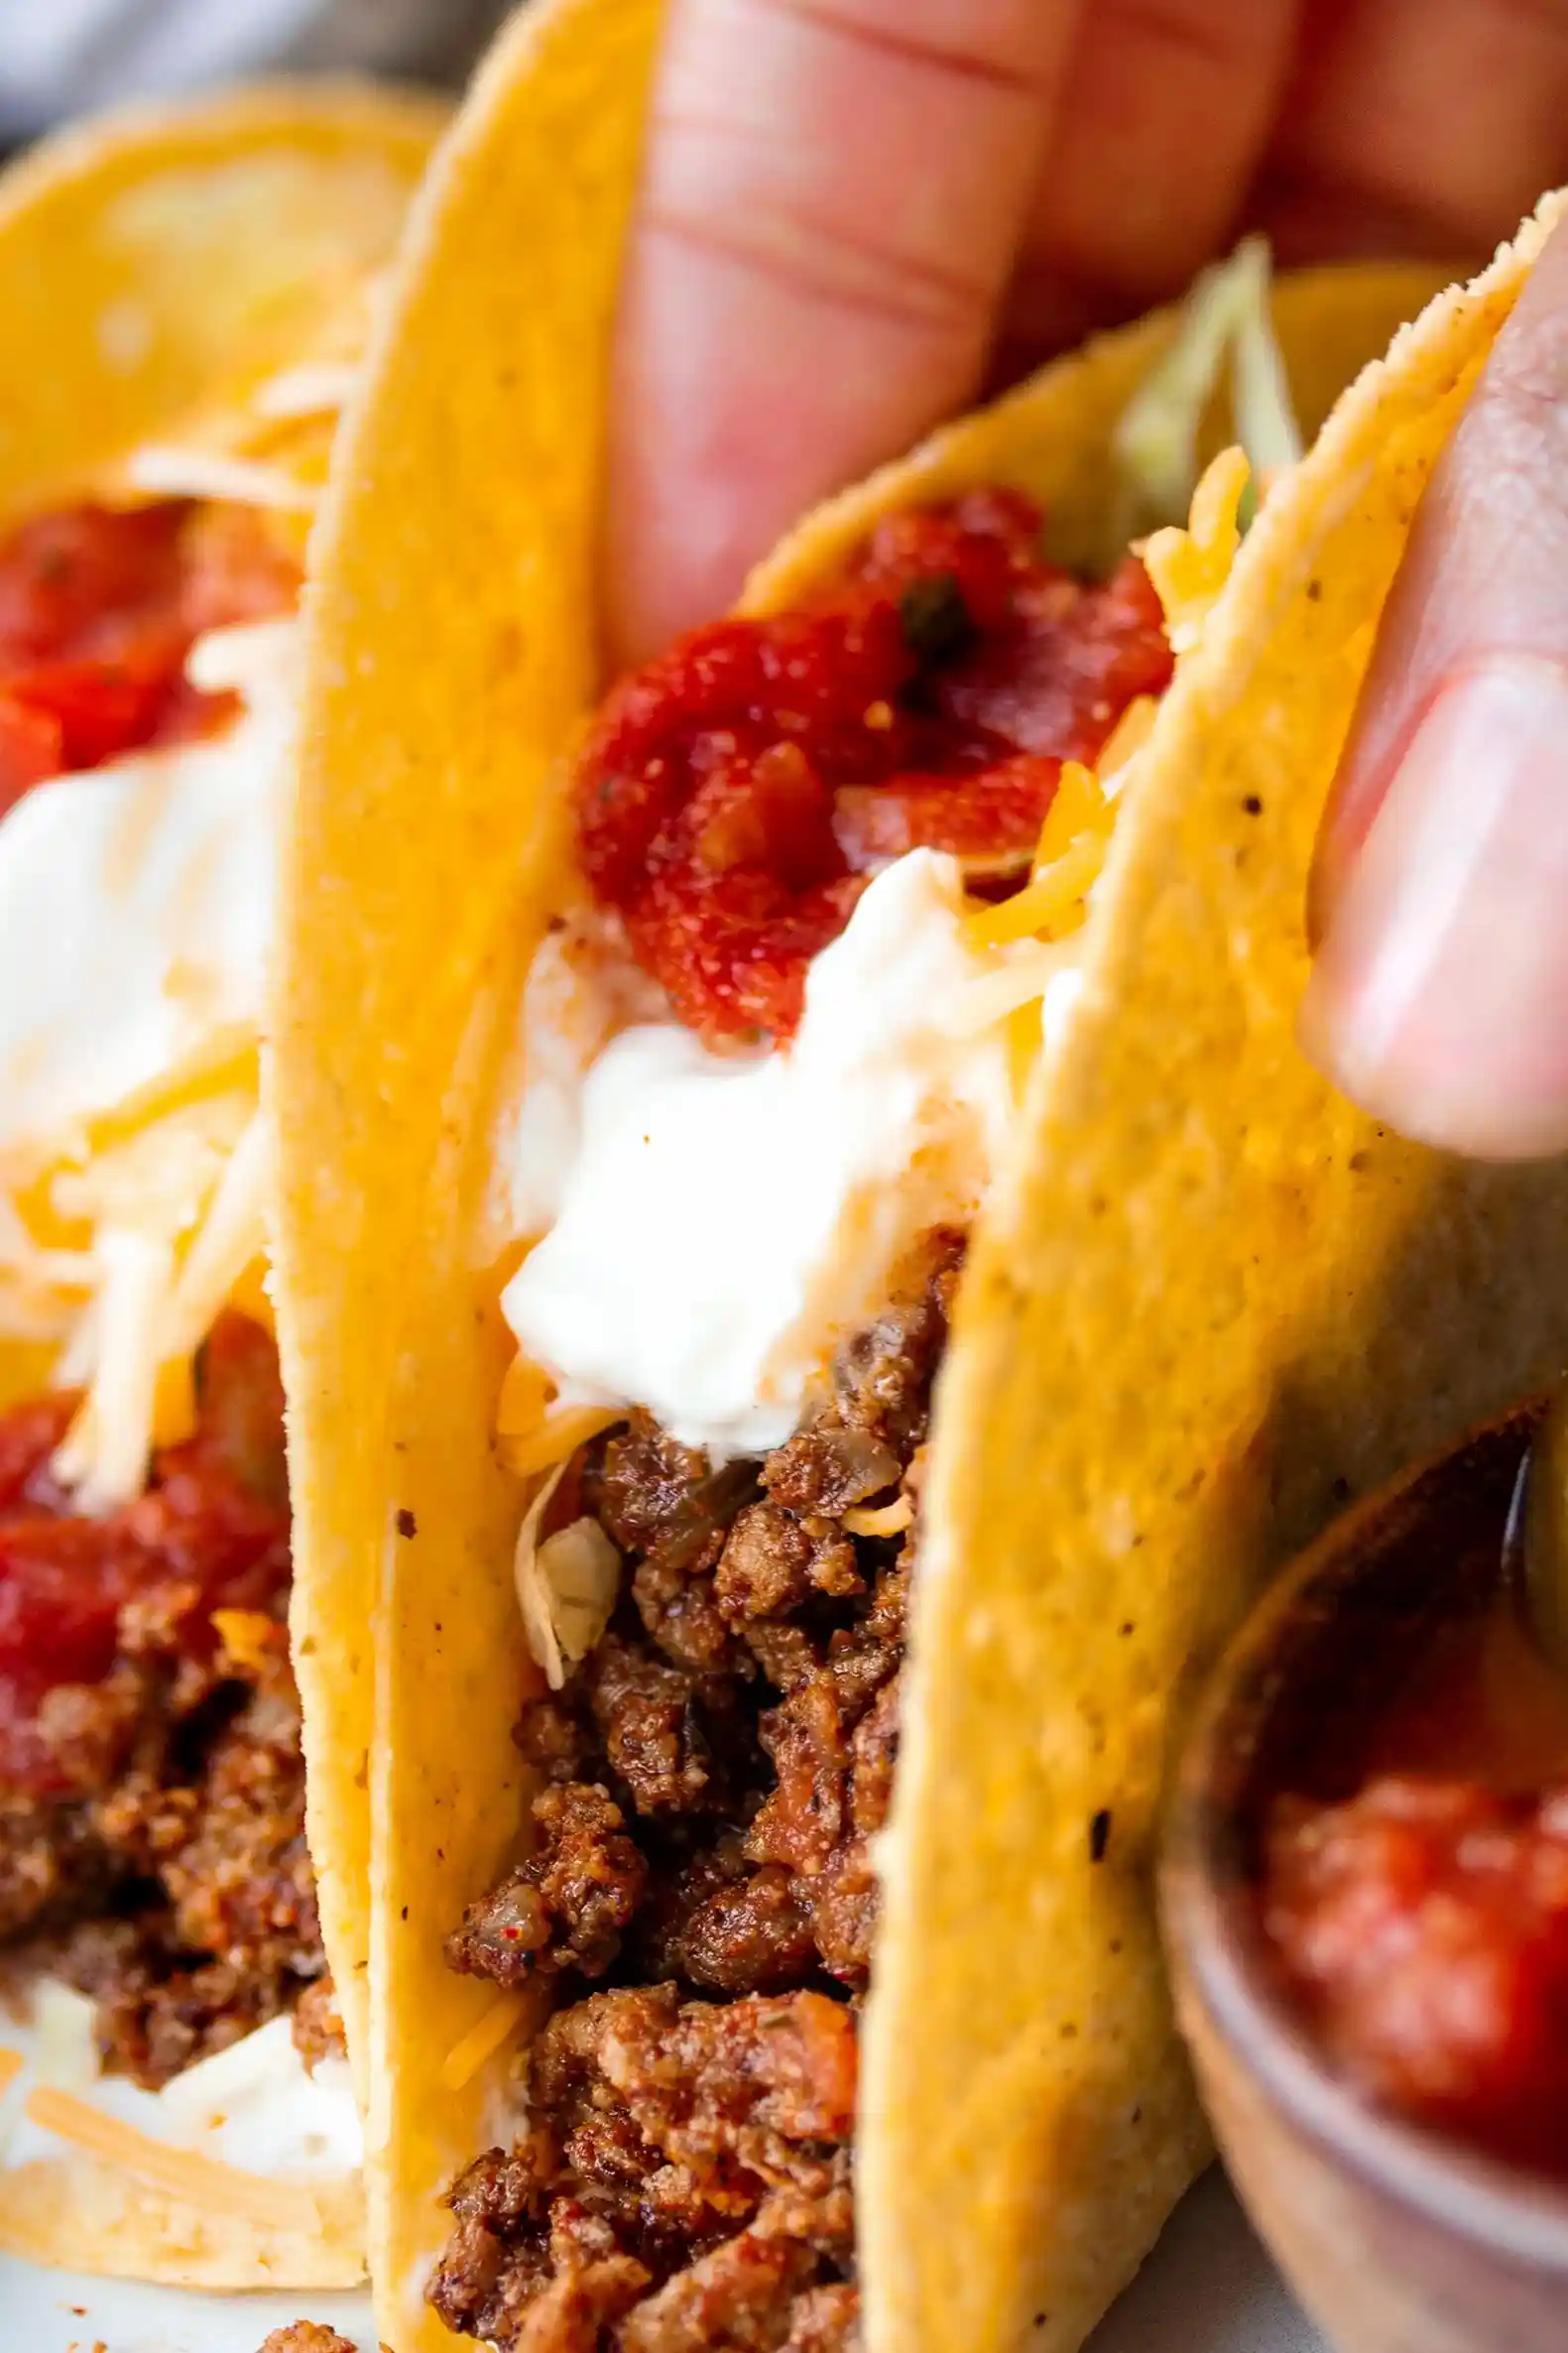
List of ingredients
- 1 lb ground beef (80% fat)
- 1/2 cup diced onions
- 2 minced garlic cloves
- 1/2 cup water
- Homemade taco seasoning (chili powder, cumin, garlic powder, onion powder, oregano, salt)
- Salt to taste
- Pepper to taste
step-by-step instructions
- Sauté: In a large skillet, over medium-high heat, heat the oil. Add the onions and cook until translucent, about 5-7 minutes, stirring often.
- Aromatics: Add the garlic and cook until fragrant, about 30 seconds, stirring to prevent burning.
- Brown: Add the ground beef and cook until browned. Drain the excess fat and return the beef to the stove.
- Season: Add the water and the taco seasoning. Stir well and cook until the sauce has thickened.
- Finish: Season with salt and pepper if needed. Fill the warmed taco shells with the ground beef and add your choice of toppings.
Refining Your Taco Meat Texture
Achieving the perfect texture for your ground beef is largely about how you handle the meat during the browning process. It is highly recommended to use a heavy-bottomed skillet which retains heat effectively, ensuring the meat browns rather than steams. Aim for a finer crumb by using a dedicated meat masher or the edge of a sturdy spatula, which helps the seasoning coat every surface of the beef evenly once added.
Importance of Proper Browning
Never rush the browning phase of your ground beef, as this is where the Maillard reaction creates the deep, savory profile essential for tacos. If you crowd the pan with too much meat, it will release excess moisture and essentially steam, which ruins the texture. Cook the beef in two batches if your skillet feels even slightly overcrowded, ensuring the meat develops those dark, crispy edges that signal a superior flavor foundation.
Managing Liquid Content
When adding your water and seasoning, always start with the suggested amount and observe how the sauce thickens. If you prefer a saucier consistency, you can hold back a tablespoon of water or add a tiny bit more if the meat seems dry. Allowing the meat to rest off the heat for two minutes after the sauce thickens lets the beef fully absorb the moisture, ensuring every mouthful is packed with flavor.
Selecting the Right Taco Shells
The choice between hard and soft shells often dictates the overall eating experience of your meal. Hard shells provide that classic, satisfying crunch that pairs perfectly with the soft, savory meat, while soft flour or corn tortillas offer a more traditional, chewy texture. Regardless of your choice, the temperature of the shell is just as critical as the quality of the filling you put inside.
Revitalizing Hard Shells
Store-bought hard shells often lose their crispness on the shelf. To restore that “just-fried” quality, place them in an oven preheated to 325°F for about five minutes. This draws out any moisture absorbed from the air and makes them structurally stronger, preventing the shell from cracking under the weight of the meat and toppings during that crucial first bite.
Softening and Warming Corn Tortillas
If you prefer using soft corn tortillas, they are prone to tearing if not properly warmed. You can soften them by passing them quickly over a low gas flame for 10-15 seconds per side until they become pliable, or by wrapping a stack in a damp paper towel and microwaving them for thirty seconds. This extra heat prevents the tortilla from breaking when you fold it over the hearty portion of beef.
Creative Topping Strategies
The beauty of a taco bar lies in the variety of colors and textures provided by fresh toppings. To keep your taco station efficient, arrange all your toppings in individual bowls before the meat is finished cooking. This allows you to assemble the tacos immediately while the meat is still piping hot, ensuring the fat in the beef remains liquid and flavorful rather than congealing on the plate.
Adding Fresh Crunch and Acid
Contrast the richness of the seasoned beef with ingredients that provide freshness and acidity. Finely shredded iceberg or romaine lettuce is the standard for that cool, crispy bite, while diced white onion provides a sharp, clean flavor. A squeeze of fresh lime juice over the finished taco is perhaps the most important final step, as the acid cuts through the fat of the beef and brightens the complex spices in your homemade seasoning.
Managing Creamy Elements
Dairy products like sour cream, Mexican crema, or shredded cheese should be kept chilled until the very last second. If you find that the heat of the meat causes the cheese to melt too quickly and create a mess, try placing the cheese at the bottom of the shell first. The warm meat will melt the cheese perfectly as it hits the base, creating a delicious, gooey barrier that helps prevent the shell from getting soggy.
Smart Storage and Reheating
If you find yourself with leftovers, proper storage is essential to maintain the quality of the seasoned beef. Transfer any remaining meat into an airtight glass container as soon as it has cooled to room temperature. The seasoning actually improves in depth if it sits in the refrigerator overnight, making these tacos an excellent candidate for meal prepping for the following day’s lunch.
Reheating for Maximum Flavor
When reheating your taco meat, avoid the microwave if you have time, as it can often heat the meat unevenly and dry out the edges. Instead, warm the beef in a small saucepan over low heat, adding a splash of water or beef broth to restore the sauce’s consistency. This gentle, slow heating method ensures the meat remains succulent and the spices remain fragrant and vibrant.
Freezing Instructions
Cooked ground beef freezes exceptionally well for up to three months. Simply place the cooled meat in a heavy-duty freezer bag, squeeze out as much air as possible, and label it with the date. When you are ready to eat, thaw the meat in the refrigerator overnight and reheat it slowly on the stove. You may find that it needs a tiny bit of extra fresh chili powder or cumin to wake up the flavors after freezing.
Addressing Common Taco Challenges
Even seasoned home cooks occasionally face issues with the balance of their taco filling. If your meat turns out too salty, it is likely that your spice blend contains too much salt, or you reduced the water too much. You can counteract excess saltiness by adding a small amount of diced tomato or an extra tablespoon of plain, unsalted tomato sauce, which adds volume and balances the aggressive seasoning.
Preventing Soggy Shells
There is nothing worse than a taco shell that falls apart in your hands. This usually happens if the meat is served too hot and liquid-heavy, or if the shell is not crisp enough. To avoid this, ensure your beef is well-drained and the liquid has truly thickened into a paste before serving. Additionally, serving the tacos immediately after filling rather than letting them sit on the counter will keep the shell integrity intact.
Balancing Heat Levels
If you have family members who prefer different heat levels, keep the taco meat relatively mild by focusing on the aromatic spices like cumin and oregano rather than heavy chili flakes. Offer hot sauce, sliced fresh serrano peppers, or pickled jalapeños on the side as individual additions. This allows every person to customize their taco’s spice level without compromising the recipe for the rest of the group.
Print
Best Classic Ground Beef Tacos
- Total Time: PT20M
- Yield: 5 servings 1x
- Diet: High Protein
Description
These beef tacos are like the ones you grew up on only better, thanks to the homemade taco seasoning. They’re BIG on flavor and seasoned just right. Pile on your favorite toppings or keep it simple. They’re scrumptious either way! Make this recipe for your next taco night!
Ingredients
- 1 lb ground beef (80% fat)
- 1/2 cup diced onions
- 2 minced garlic cloves
- 1/2 cup water
- Homemade taco seasoning (chili powder, cumin, garlic powder, onion powder, oregano, salt)
- Salt to taste
- Pepper to taste
Instructions
- Sauté: In a large skillet, over medium-high heat, heat the oil. Add the onions and cook until translucent, about 5-7 minutes, stirring often.
- Aromatics: Add the garlic and cook until fragrant, about 30 seconds, stirring to prevent burning.
- Brown: Add the ground beef and cook until browned. Drain the excess fat and return the beef to the stove.
- Season: Add the water and the taco seasoning. Stir well and cook until the sauce has thickened.
- Finish: Season with salt and pepper if needed. Fill the warmed taco shells with the ground beef and add your choice of toppings.
Notes
Warm hard taco shells in the microwave for 45 seconds. Warm soft tortillas in the microwave for 30 seconds wrapped in a damp paper towel. Optional flavor boosts include a pinch of cayenne, red pepper flakes, or a spoonful of tomato paste.
- Prep Time: PT5M
- Cook Time: PT15M
- Category: Main
- Method: Stovetop
- Cuisine: Mexican
Nutrition
- Serving Size: 1 taco
- Calories: 280 kcal
- Sugar: 1 g
- Sodium: 350 mg
- Fat: 18 g
- Saturated Fat: 7 g
- Unsaturated Fat: 9 g
- Trans Fat: 0 g
- Carbohydrates: 6 g
- Fiber: 1 g
- Protein: 22 g
- Cholesterol: 80 mg