Learning to debone chicken thighs at home is a foundational kitchen skill that saves money and grants you full control over the quality of your protein. By mastering this simple technique, you can take advantage of the more affordable bone-in chicken thighs frequently found at the grocery store while enjoying the convenience of boneless fillets. This process is efficient, hygienic, and significantly reduces your weekly grocery budget over time.
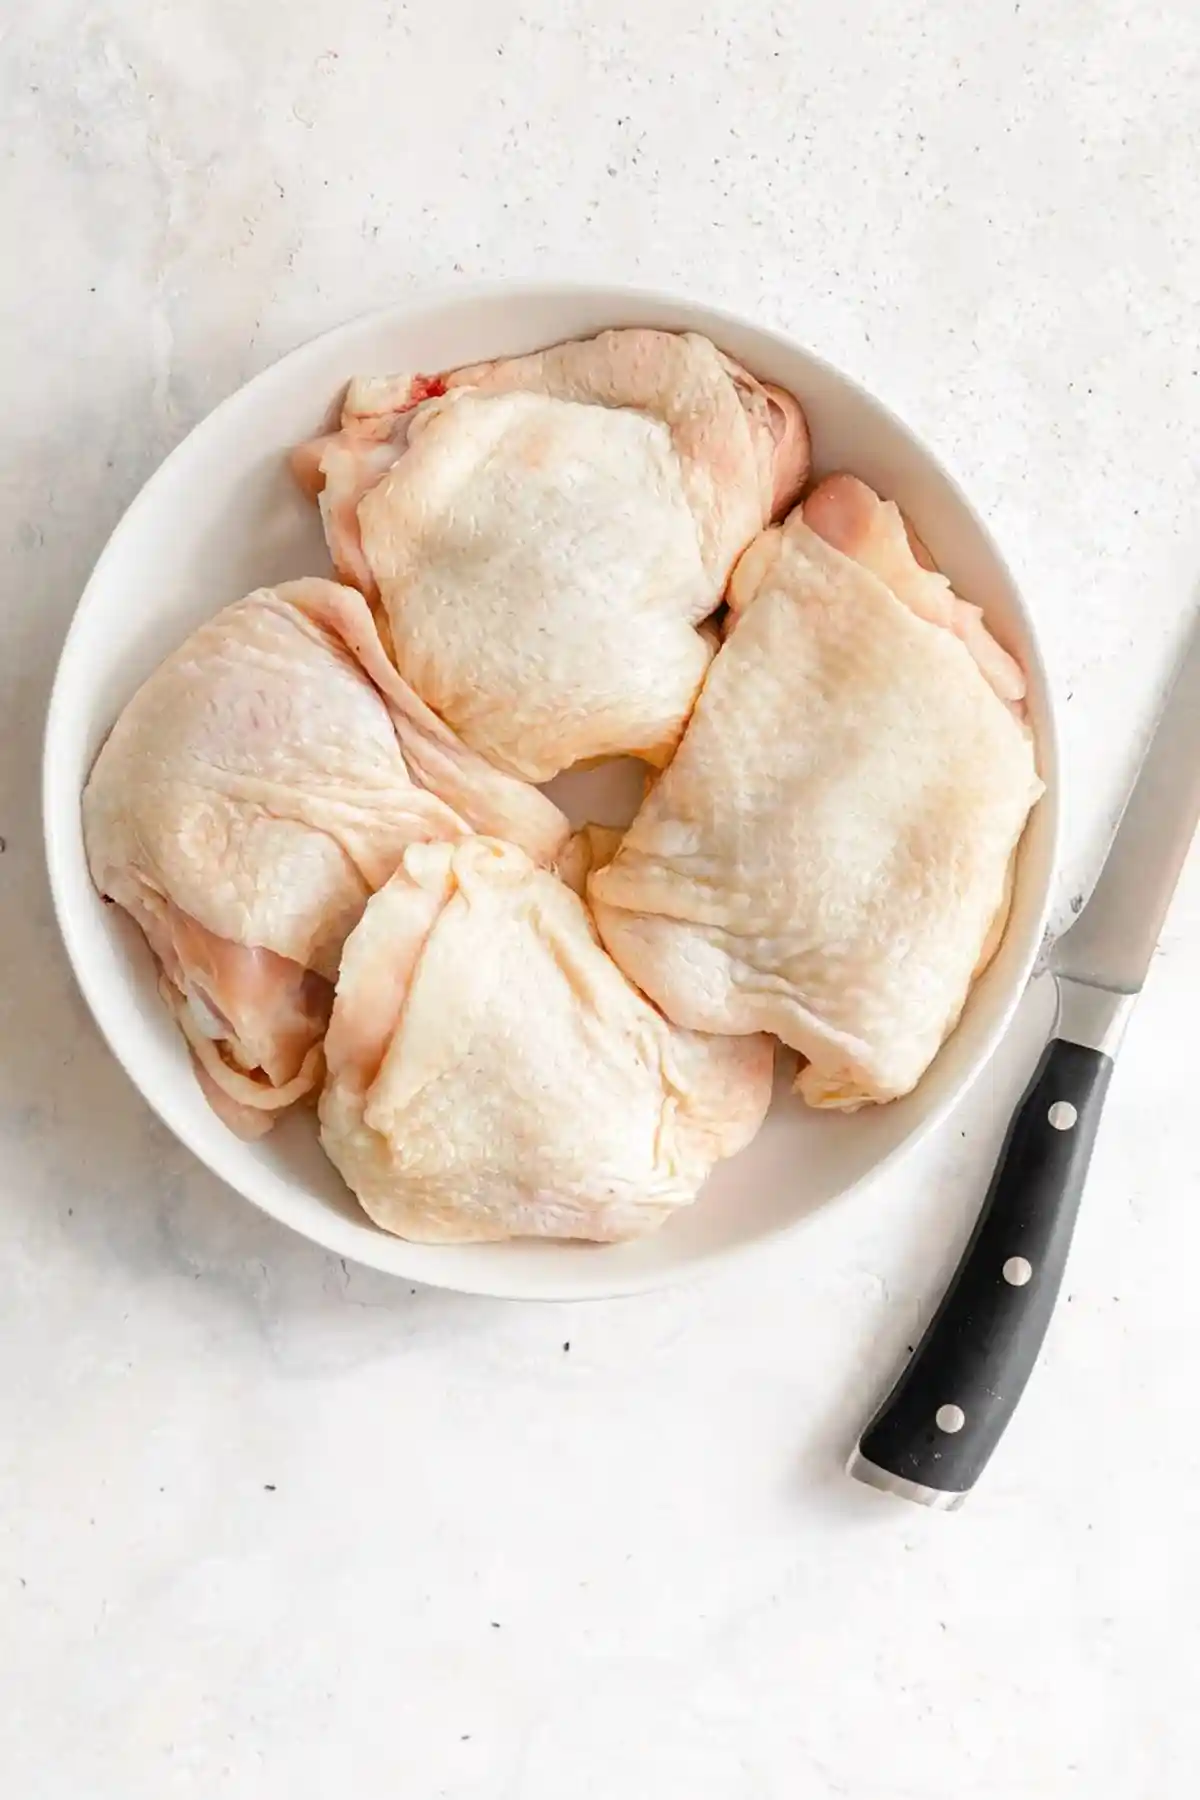
List of ingredients
- 1 lb bone-in, skin-on chicken thighs
step-by-step instructions
- Step: Lay your chicken thigh skin side down on the cutting board.
- Step: Begin by making small slices down one side of the bone, getting as close to the bone as possible.
- Step: Repeat this process on the other side of the bone.
- Step: Gently cut the meat away from the bone.
- Step: Slip the knife under the bone and begin to cut it free from the thigh.
- Step: Flip the bone over once it is mostly cut free and finish cutting it out of the chicken thigh.
- Step: Feel around the meat to ensure no small pieces of bone or gristle remain.
Essential Tool Maintenance
Selecting the Right Blade Profile
A specialized boning knife is preferred because it features a narrow, slightly flexible blade that can navigate around curved bones with minimal resistance. If you do not have a dedicated boning knife, a small, sharp paring knife can function in a pinch, though you must be extra careful to maintain a controlled grip. Always ensure your knife is freshly sharpened, as a dull blade is significantly more dangerous and will tear the delicate chicken meat rather than slicing through it cleanly.
Sanitation and Surface Care
Maintain a clean workspace by dedicating one specific cutting board to raw poultry to avoid cross-contamination. Wooden cutting boards are excellent for grip, but you should ensure they are thoroughly sanitized with hot, soapy water immediately after you finish your preparation. If you prefer, a non-porous plastic board is easier to run through a dishwasher to ensure deep sanitation after handling raw meat.
Preparation and Handling Advice
Mastering the Grip
Chicken skin and fat can be remarkably slippery, making it difficult to hold the thigh steady while maneuvering your knife. Using a dry paper towel to hold the chicken in place provides extra traction, allowing you to focus your attention entirely on the blade movement. Never attempt to rush the process; steady, rhythmic movements are much safer and result in a cleaner, more professional-looking cut that holds its shape during cooking.
Managing Excess Fat and Skin
Depending on your dietary preferences, you may choose to remove the skin completely before or after deboning. If you wish to remove the skin before you start, grasp it firmly near the joint and pull it toward the end of the thigh in one swift motion. If the skin is stubborn, use your knife to carefully trim the thin connective tissue that anchors it to the meat, taking care to pull the skin taut to ensure a clean separation without losing unnecessary meat.
Handling Multiple Thighs Efficiently
If you are processing a large bulk package of thighs, set up an assembly line to maximize your time. Lay out three or four thighs at once, process the initial incisions on all of them, and then proceed to remove the bones one by one. This repetitive motion allows your hands to develop muscle memory, making the task significantly faster as you progress through the package, while keeping the chicken out of the refrigerator for the shortest duration possible.
Cooking Considerations
Flavor Impact of Bone-In Cooking
Leaving the bones in during the cooking process is often recommended for low-and-slow applications, as the marrow and connective tissues break down and infuse the meat with extra depth. If you are preparing a dish like a long-simmering stew, you might choose to cook the chicken with the bones and remove them after the meat has reached a tender, shreddable consistency. This method is particularly effective for recipes where the final presentation is secondary to the overall intensity of the sauce or broth.
Uniformity for Quick Searing
When you debone the chicken beforehand, you create a flat, uniform surface that ensures even browning in a hot skillet. Without the interference of the bone, the meat makes full contact with the pan, leading to a superior crust that is difficult to achieve with bone-in cuts. This is vital for 30-minute meals where you need the chicken to cook through rapidly without burning the exterior seasoning.
Support and Frequently Asked Questions
Should I leave the cartilage intact?
It is best to remove all cartilage pieces during the preparation phase, as they have a rubbery texture that is unpleasant to encounter while eating. Take a moment after removing the main bone to feel the cavity for any hidden white cartilage caps, especially near the joint areas, and trim them away with your knife tip.
How can I store deboned thighs effectively?
For best results, wrap the deboned thighs tightly in plastic wrap or place them in an airtight freezer bag, removing as much air as possible to prevent frost buildup. You can store these in the refrigerator for up to two days, or freeze them for up to three months; labeling the bags with the date will help you track freshness for future meal planning.
What is the benefit of keeping the bones for stock?
Chicken bones are packed with collagen and flavor that can transform basic water into a rich, savory liquid. Even if you only have a few bones, you can keep them in a freezer-safe bag until you have collected enough to make a full pot of broth. Simply simmer them with aromatics like onions, carrots, and celery for several hours to create a versatile base for countless dishes.
Can I debone frozen chicken?
It is not recommended to attempt to debone chicken that is still frozen, as the dense, icy structure makes it dangerous to maneuver a knife with any degree of control. Always thaw your chicken completely in the refrigerator until it is pliable and easy to handle before beginning the deboning process. If the chicken is partially frozen, the texture of the meat may be compromised during the cutting, leading to uneven cooking later on.
Strategic Meal Planning
Batch Processing for Weeknight Success
Purchasing large family packs of chicken thighs and deboning them in one session is a smart strategy for busy households. Once the meat is prepped, you can portion it out into specific quantities tailored to your favorite recipes, such as stir-fries, curries, or grilled preparations. This removes the barrier of preparation on a hectic weeknight, effectively turning a time-consuming task into a simple, grab-and-go experience.
Developing Consistent Cooking Results
By preparing your own boneless thighs, you can ensure that each piece is roughly the same thickness, which promotes uniform cooking times across the board. If some thighs are particularly large or irregular, use a meat mallet to gently pound the thicker areas to match the rest of the fillet. This ensures that when you prepare a meal, the chicken finishes cooking at the exact same moment, preventing the common problem of some pieces being overcooked while others remain raw.
Print
How To Debone Chicken Thighs – Easy Steps!
- Total Time: PT10M
- Yield: 1 lb chicken 1x
- Diet: High Protein
Description
An easy step-by-step guide on how to debone chicken thighs at home. Quickly and safely prepare chicken thighs for any recipe with these simple professional tips.
Ingredients
- 1 lb bone-in, skin-on chicken thighs
Instructions
- Step: Lay your chicken thigh skin side down on the cutting board.
- Step: Begin by making small slices down one side of the bone, getting as close to the bone as possible.
- Step: Repeat this process on the other side of the bone.
- Step: Gently cut the meat away from the bone.
- Step: Slip the knife under the bone and begin to cut it free from the thigh.
- Step: Flip the bone over once it is mostly cut free and finish cutting it out of the chicken thigh.
- Step: Feel around the meat to ensure no small pieces of bone or gristle remain.
Notes
Using bone-in chicken thighs is more economical and often results in more flavorful dishes. You can freeze the deboned meat in individual portions for easy meal prep.
- Prep Time: PT10M
- Cook Time: PT0M
- Category: Preparation
- Method: Manual
- Cuisine: General
Nutrition
- Serving Size: 1 thigh
- Calories: 180 kcal
- Sugar: 0 g
- Sodium: 75 mg
- Fat: 9 g
- Saturated Fat: 2 g
- Unsaturated Fat: 6 g
- Trans Fat: 0 g
- Carbohydrates: 0 g
- Fiber: 0 g
- Protein: 20 g
- Cholesterol: 85 mg