Preparing chicken breast in an Instant Pot is a foolproof method to achieve consistent, tender, and flavorful results every single time. This approach locks in moisture, preventing the dry, fibrous texture that often occurs with standard stovetop searing or oven roasting. Whether you are meal prepping for the busy week ahead or looking for a fast, reliable dinner option, this technique ensures high-protein success without requiring constant supervision.
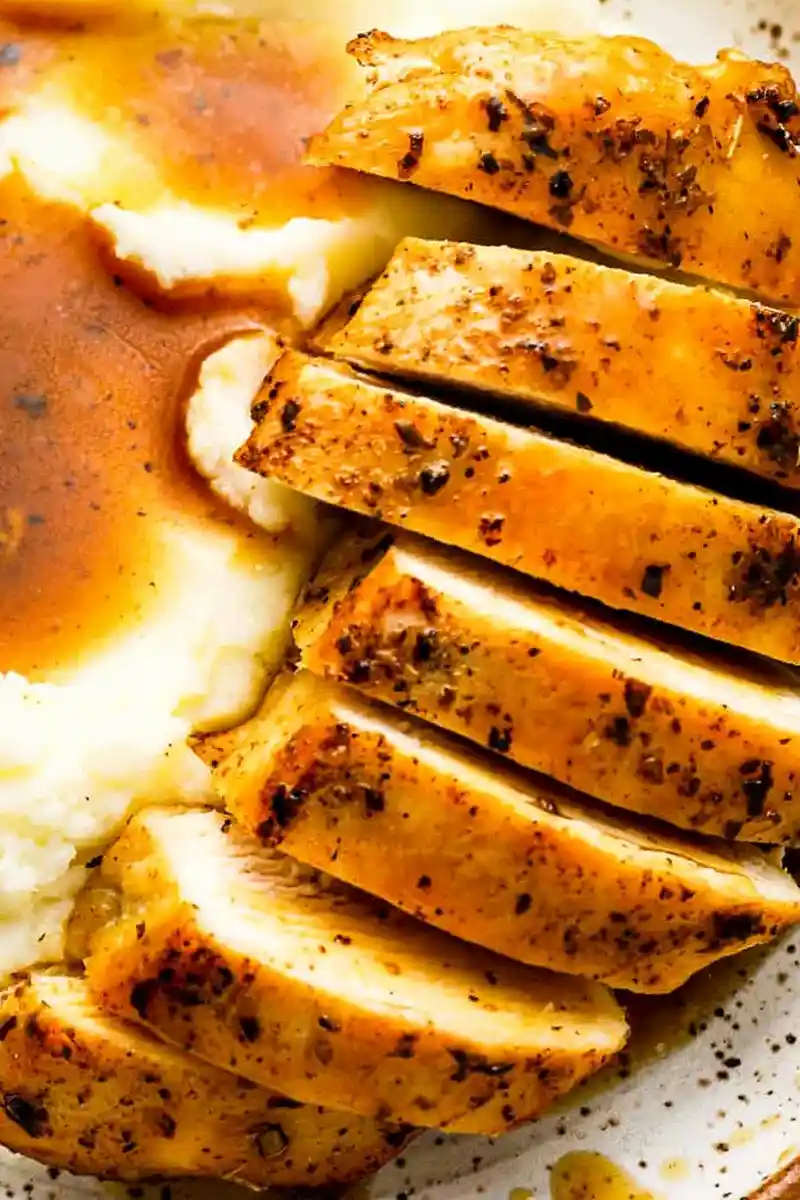
List of ingredients
- 4 boneless, skinless chicken breasts (about 2 pounds)
- 1 teaspoon Italian seasoning
- 1 teaspoon kosher salt
- ½ teaspoon garlic powder
- ½ teaspoon onion powder
- ½ teaspoon ground paprika
- ¼ teaspoon ground black pepper
- 1 tablespoon olive oil
- 1 cup low-sodium chicken broth
- Chopped fresh parsley (optional)
- 1 tablespoon cornstarch mixed with 1 tablespoon water
step-by-step instructions
- Step: Pat the chicken dry.
- Step: In a small bowl, stir the Italian seasoning, salt, garlic powder, onion powder, paprika, and pepper together.
- Step: Sprinkle the seasonings all over the chicken to coat it well.
- Step: Set the Instant Pot to Saute. Once hot, add in the oil. In batches, sear the chicken on both sides until golden brown, about 2-3 minutes per side.
- Step: Remove the chicken from the Instant Pot, add in the broth, and scrape up any browned bits from the bottom.
- Step: Set in the trivet, and place the chicken back in the pot onto the trivet.
- Step: Close the lid and set the Instant Pot to pressure cook on high pressure for 5 minutes.
- Step: Once the timer goes off, let it naturally release pressure for 10 minutes. Manually release any remaining pressure.
- Step: To make a gravy, remove the chicken and set aside. Remove the trivet. Whisk in the cornstarch and water slurry. Turn the instant pot to saute and bring to a simmer until thickened.
Refining your pressure cooking technique
Ensuring even cook times
When selecting chicken breasts for this recipe, try to choose ones that are roughly the same thickness. If you have breasts with significant size variations, you can butterfly the thicker ones or use a meat mallet to pound them to an even thickness before seasoning. This prevents the smaller pieces from becoming overcooked while the larger ones remain underdone, ensuring the entire batch is ready at the exact same time.
The importance of the natural release
Many home cooks are tempted to use the quick-release valve immediately after the timer beeps, but waiting for the 10-minute natural release is the secret to juiciness. During the natural release, the internal temperature of the chicken stabilizes, and the muscle fibers have time to relax and reabsorb moisture. Rushing this process can lead to steam escaping too quickly, which effectively wrings the moisture out of the meat, leaving it dry and stringy.
Customizing flavor profiles
Exploring global spice blends
While Italian seasoning offers a classic, approachable flavor, you can easily adapt this dish to match different culinary themes. For a southwestern kick, substitute the Italian blend with a mix of chili powder, ground cumin, and coriander. If you prefer a Mediterranean vibe, incorporate dried oregano, sumac, and lemon zest. Testing different seasoning combinations allows you to maintain the convenience of the cooking method while keeping your weekly meal rotation exciting and fresh.
Enhancing the poaching liquid
The liquid base of your pressure cooker doesn’t have to be limited to plain broth. You can infuse the cooking liquid with additional aromatics like slices of fresh lemon, whole peppercorns, or crushed garlic cloves. These aromatics will infuse the steam with flavor, which then permeates the chicken as it cooks, resulting in a much more aromatic and sophisticated finished product without adding any extra effort to the process.
Practical storage and preparation guidance
Optimizing the refrigerator shelf life
Leftover chicken should be cooled down within two hours of cooking and then placed in an airtight container. Properly stored in the coldest part of your refrigerator, this chicken will maintain its quality for up to three days. When you are ready to use it, ensure it is sealed tightly to prevent it from absorbing other refrigerator odors, which can alter the delicate flavor of the herbs.
Managing freezer storage
If you intend to keep the chicken for longer periods, freezing is an excellent option. To maintain the best texture, let the chicken cool completely before placing it in heavy-duty freezer bags. Squeeze out as much excess air as possible to prevent frost buildup, which can cause freezer burn. When you are ready to eat, move the frozen chicken to the refrigerator the night before to allow for a gradual, safe thaw, which helps maintain the integrity of the meat fibers.
Restoring moisture when reheating
Reheating chicken breast can be tricky, as it is prone to drying out. To prevent this, always reheat your portions with a small splash of liquid—whether it is leftover gravy, extra broth, or even a tiny amount of water—in the bottom of the container. If using a microwave, cover your dish with a microwave-safe lid or a damp paper towel to trap the steam, and always use a lower power setting to heat the meat gently rather than blasting it on high heat.
Common adjustments and troubleshooting
Addressing a burn warning
The dreaded burn notice on an Instant Pot usually occurs when the liquid is not sufficient or when sugar-heavy or starchy ingredients are stuck to the bottom of the liner. Always ensure you thoroughly deglaze the pot after searing, as those browned bits are flavor-packed but can trigger the sensor if left stuck to the metal. If you find the liquid is too thick, simply add a bit more broth or water before securing the lid to ensure the machine can build pressure effectively.
Determining if the chicken is cooked through
While the cook time listed is generally perfect for standard breasts, chicken size can vary significantly. If you are ever in doubt, use an instant-read meat thermometer inserted into the thickest part of the breast. The chicken is safe and ready to eat when it registers an internal temperature of 165 degrees Fahrenheit. If it is slightly under, you can return it to the pot for an extra minute or two under pressure, but usually, the residual heat during the resting phase is sufficient to finish the cooking process.
Should I stack the breasts?
You can safely stack the chicken breasts inside the pot, provided you are using the trivet to keep them elevated above the liquid. Stacking is actually an efficient way to cook multiple portions for meal prep without needing a larger pot. Because the Instant Pot cooks using high-pressure steam, the heat will circulate around the meat regardless of how they are layered, as long as they aren’t packed so tightly that they are fused together in a single, solid mass.
Are bone-in breasts suitable?
This recipe is designed specifically for boneless, skinless chicken breasts. If you choose to use bone-in pieces, you must increase the cooking time by approximately 3 to 5 minutes. Bones act as an insulator, meaning they prevent the heat from penetrating the center of the meat as quickly as it would with a skinless, boneless fillet. Additionally, be mindful that the cooking liquid might need a slight adjustment in quantity to compensate for the longer steaming time required for the bone-in cut.
Print
How to Prepare Juicy Instant Pot Chicken Breast
- Total Time: 25 minutes
- Yield: 4 servings 1x
- Diet: High Protein
Description
Learn how to cook chicken breast in an Instant Pot for a super easy way to make juicy chicken for lunch, dinner, or meal prep.
Ingredients
- 4 boneless, skinless chicken breasts (about 2 pounds)
- 1 teaspoon Italian seasoning
- 1 teaspoon kosher salt
- ½ teaspoon garlic powder
- ½ teaspoon onion powder
- ½ teaspoon ground paprika
- ¼ teaspoon ground black pepper
- 1 tablespoon olive oil
- 1 cup low-sodium chicken broth
- Chopped fresh parsley (optional)
- 1 tablespoon cornstarch mixed with 1 tablespoon water
Instructions
- Step: Pat the chicken dry.
- Step: In a small bowl, stir the Italian seasoning, salt, garlic powder, onion powder, paprika, and pepper together.
- Step: Sprinkle the seasonings all over the chicken to coat it well.
- Step: Set the Instant Pot to Saute. Once hot, add in the oil. In batches, sear the chicken on both sides until golden brown, about 2-3 minutes per side.
- Step: Remove the chicken from the Instant Pot, add in the broth, and scrape up any browned bits from the bottom.
- Step: Set in the trivet, and place the chicken back in the pot onto the trivet.
- Step: Close the lid and set the Instant Pot to pressure cook on high pressure for 5 minutes.
- Step: Once the timer goes off, let it naturally release pressure for 10 minutes. Manually release any remaining pressure.
- Step: To make a gravy, remove the chicken and set aside. Remove the trivet. Whisk in the cornstarch and water slurry. Turn the instant pot to saute and bring to a simmer until thickened.
Notes
You may need to cook bone-in breasts for longer. Be sure to deglaze the pot thoroughly to avoid a burn notice. Store leftovers in an airtight container for up to 3 days.
- Prep Time: 5 minutes
- Cook Time: 5 minutes
- Category: Dinner
- Method: Pressure Cooking
- Cuisine: American
Nutrition
- Serving Size: 1 chicken breast
- Calories: 311 kcal
- Sugar: 0.2 g
- Sodium: 863 mg
- Fat: 10 g
- Saturated Fat: 2 g
- Unsaturated Fat: 8 g
- Trans Fat: 0 g
- Carbohydrates: 4 g
- Fiber: 0.4 g
- Protein: 50 g
- Cholesterol: 145 mg