Creating restaurant-quality cold-cured salmon at home is surprisingly accessible and requires no specialized outdoor equipment. By utilizing a simple salt and sugar cure alongside a touch of liquid smoke, you can achieve that characteristic flavor and silky texture in your own kitchen. This method relies on the curing process to transform the texture of the fish, making it a perfect project for home cooks looking to elevate their brunch game or snack offerings.
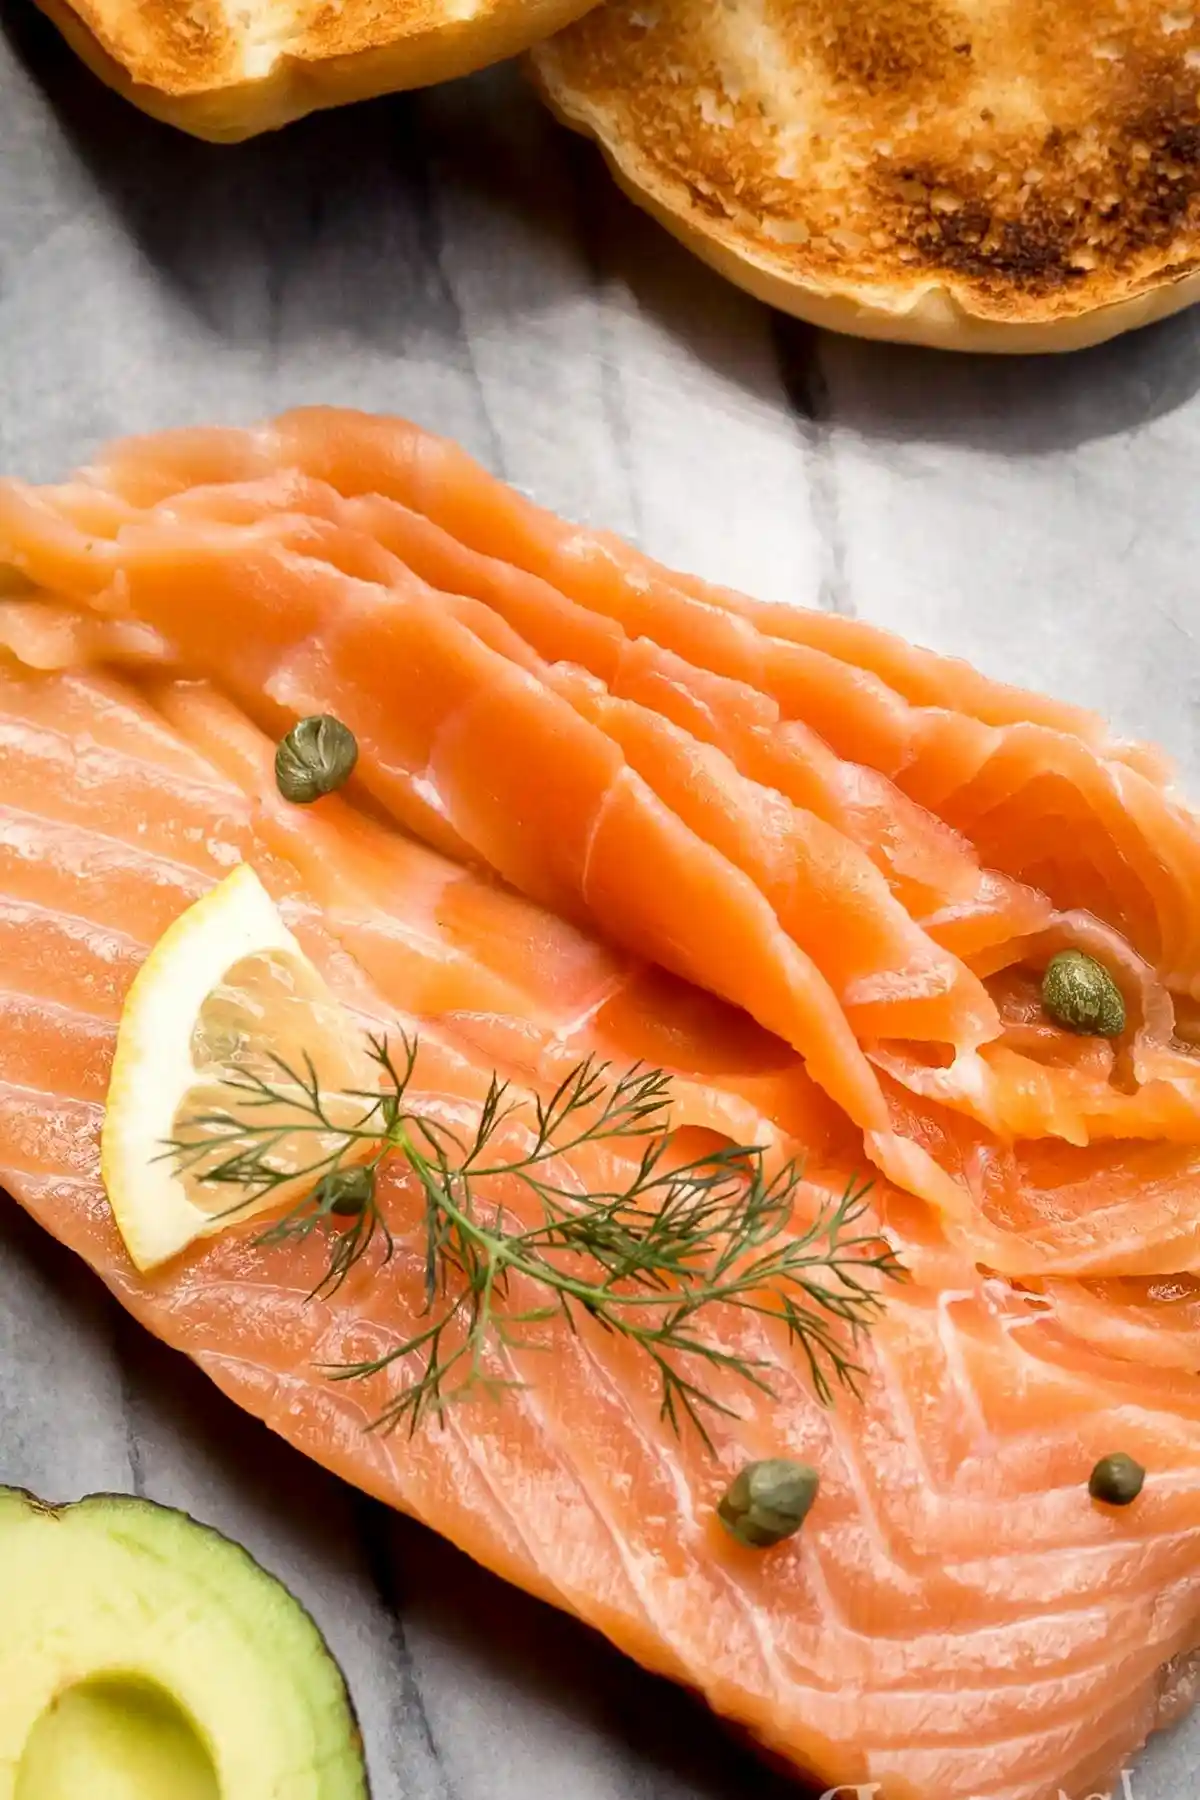
List of ingredients
- 8 oz salmon fillet (boneless)
- 3 tbsp salt
- 3 tbsp sugar
- 2 drops liquid smoke
step-by-step instructions
- Make the Dry Rub: Combine the salt, sugar, and liquid smoke, mixing well to ensure the liquid smoke is evenly distributed.
- Cover the Salmon in Dry Rub: Line a small container with plastic wrap. Place half the dry rub on the bottom, add the salmon fillet, and cover with the remaining rub. Wrap tightly, ensuring no leaks, and refrigerate for 24 hours.
- Rinse and Dry: Remove salmon from the brine, rinse off excess salt, and pat dry.
- How to Cut the Smoked Salmon: Freeze the salmon for 30 minutes to firm it up, then use a sharp fillet knife to cut thin strips against the grain.
Practical guidance for home curing
The curing process is a transformation of proteins rather than a cooking method, so temperature control is paramount. Always keep the fish in the coldest part of your refrigerator, typically the back near the cooling element, throughout the entire 24-hour cycle. Consistent temperature prevents the fish from warming up, ensuring a safe and firm result that retains its vibrant color.
Selecting the right cut of fish
Choose a uniform, center-cut salmon fillet for the most consistent results. A thick, rectangular piece ensures that the salt and sugar penetrate at an even rate, which prevents some areas from becoming over-cured or too salty compared to the rest. Remove any pin bones beforehand using tweezers to ensure a smooth, professional mouthfeel when you eventually slice the finished product.
Mastering the curing container
Using a container that is only slightly larger than the fillet helps the brine stay in direct contact with the fish rather than spreading out into a thin, useless pool. If you are worried about leakage, double-layering the plastic wrap or placing the wrapped bundle inside a small, airtight silicone bag is a smart approach. This guarantees that all the juices remain around the fish for the duration of the 24-hour cycle.
Why rinsing is a mandatory final step
After the curing time, the surface of the salmon will be coated in a high concentration of salt that must be removed. Skipping the rinse stage will leave your finished slices with a gritty texture and an overwhelmingly harsh, salty flavor that obscures the delicate taste of the fish. Always use cold water for rinsing to keep the fat of the salmon firm and prevent any unwanted melting or softening of the flesh.
Refining the flavor and texture
The primary advantage of making this at home is the ability to customize every aspect of the curing process. While the base recipe is standard, subtle adjustments can make a significant difference in the final product’s complexity. Small changes to the curing environment allow you to experiment with different aromatic notes that pair perfectly with the richness of salmon.
Balancing the saltiness level
If you prefer a milder taste, you can safely reduce the salt in the mixture by up to 20% without compromising the cure. Alternatively, if the flavor is too intense, you can soak the finished fillet in a bowl of chilled water for 30 minutes after rinsing to draw out excess salt. This extra step should be done before the final chilling stage to ensure the fish remains firm and ready for immediate serving.
Enhancing with fresh herbs
You can introduce fresh aromatics by layering chopped dill, lemon zest, or freshly cracked black pepper onto the salmon during the curing process. These ingredients will infuse the fish with their oils over the 24-hour wait, creating a gourmet experience without any extra cooking time. Always ensure that the herbs are dry before adding them to prevent any excess moisture from affecting the curing brine.
Achieving the perfect slice
Cutting the salmon too early or using a dull blade will often result in mangled, uneven pieces. A long, thin, flexible slicing knife—sometimes called a salmon slicer—is the best tool for the job because it allows you to make one continuous motion. Keeping the fish partially frozen during this step acts as a stabilizer, preventing the meat from sliding around on the cutting board.
Serving and storage recommendations
Once your salmon is sliced, the storage requirements change to protect the texture and prevent oxidation. Since this is an artisanal product without commercial preservatives, it is best enjoyed within a narrow window for the highest quality. Proper handling ensures that you get the most out of every batch you prepare.
Optimizing refrigerator storage
Place your finished slices in an airtight container or a vacuum-sealed bag to limit exposure to oxygen, which causes fish to dry out and discolor. It should be kept in the coldest section of your fridge and consumed within five days. When serving, remove only the portion you plan to use and return the rest to the fridge immediately to keep the temperature stable.
Freezing for long-term supply
If you find yourself with extra salmon, it can be frozen for up to three months. To maintain the best texture, wrap the slices in parchment paper before sealing them in a freezer-safe bag to prevent the slices from sticking together in a solid mass. When you are ready to eat, move the portion to the refrigerator to thaw slowly overnight, which is gentler than using a microwave or warm water bath.
Frequently Asked Questions
Can I use brown sugar instead of white sugar?
Yes, you can substitute brown sugar for a deeper, more molasses-forward flavor profile. Keep in mind that brown sugar contains more moisture, so the resulting brine may be slightly thicker, but it will still effectively cure the salmon.
Why is liquid smoke used in this recipe?
Liquid smoke is condensed smoke captured from burning wood chips, providing the classic flavor profile associated with wood-fired smoking without requiring a smoker. It is highly concentrated, so following the exact drop count is important to avoid a taste that is too intense or bitter.
Is this curing method safe?
By using salt to draw out moisture, the fish becomes cured, which inhibits the growth of bacteria. However, for maximum safety, always choose high-quality salmon and ensure your refrigerator is set to the correct temperature below 40 degrees Fahrenheit throughout the process.
What should I serve alongside the salmon?
Smoked salmon is versatile and pairs well with acidic or creamy components like capers, thinly sliced red onion, crème fraîche, or lemon wedges. It is also excellent served on toasted rye bread, atop blinis, or even integrated into a fresh salad with crisp greens and a light vinaigrette.
Can I cure a larger fillet using this method?
You can scale the recipe up for a larger piece of fish by maintaining the same ratio of salt to sugar based on the weight of the fillet. Ensure your curing container is large enough to hold the fish flat so the brine can cover the entire surface area effectively during the 24-hour wait.
What is the benefit of chilling the fish before slicing?
Chilling the fish firms up the fat and muscle fibers, allowing you to slice much thinner ribbons without the meat tearing or breaking. It transforms the physical handling of the delicate fillet, making it possible to achieve the translucent, thin cuts commonly associated with high-end appetizers.
Print
Homemade Cold-Cured Salmon Without a Smoker
- Total Time: PT1450M
- Yield: 2 servings 1x
- Diet: Pescatarian
Description
Learn the trick to make homemade cold smoked salmon at home with an irresistible smokey, salty brine mixture—no smoker required.
Ingredients
- 8 oz salmon fillet (boneless)
- 3 tbsp salt
- 3 tbsp sugar
- 2 drops liquid smoke
Instructions
- Make the Dry Rub: Combine the salt, sugar, and liquid smoke, mixing well to ensure the liquid smoke is evenly distributed.
- Cover the Salmon in Dry Rub: Line a small container with plastic wrap. Place half the dry rub on the bottom, add the salmon fillet, and cover with the remaining rub. Wrap tightly, ensuring no leaks, and refrigerate for 24 hours.
- Rinse and Dry: Remove salmon from the brine, rinse off excess salt, and pat dry.
- How to Cut the Smoked Salmon: Freeze the salmon for 30 minutes to firm it up, then use a sharp fillet knife to cut thin strips against the grain.
Notes
If the salmon is too salty, submerge it in boiled and cooled water for 30+ minutes before serving. Use high-quality, previously frozen salmon to ensure safety.
- Prep Time: PT10M
- Cook Time: PT0M
- Category: Appetizer
- Method: Curing
- Cuisine: American
Nutrition
- Serving Size: 4 oz
- Calories: 368 kcal
- Sugar: 11 g
- Sodium: 7080 mg
- Fat: 14 g
- Saturated Fat: 2 g
- Unsaturated Fat: 11 g
- Trans Fat: 0 g
- Carbohydrates: 12 g
- Fiber: 0 g
- Protein: 45 g
- Cholesterol: 124 mg