These homemade fried chicken sandwiches deliver the perfect balance of a crunchy, golden exterior and juicy, tender meat. By marinating the chicken in a seasoned buttermilk bath, you ensure every bite is packed with savory flavor and consistent moisture. Serve them up with our signature honey mustard sauce on toasted brioche buns for a truly satisfying meal that rivals any restaurant creation.
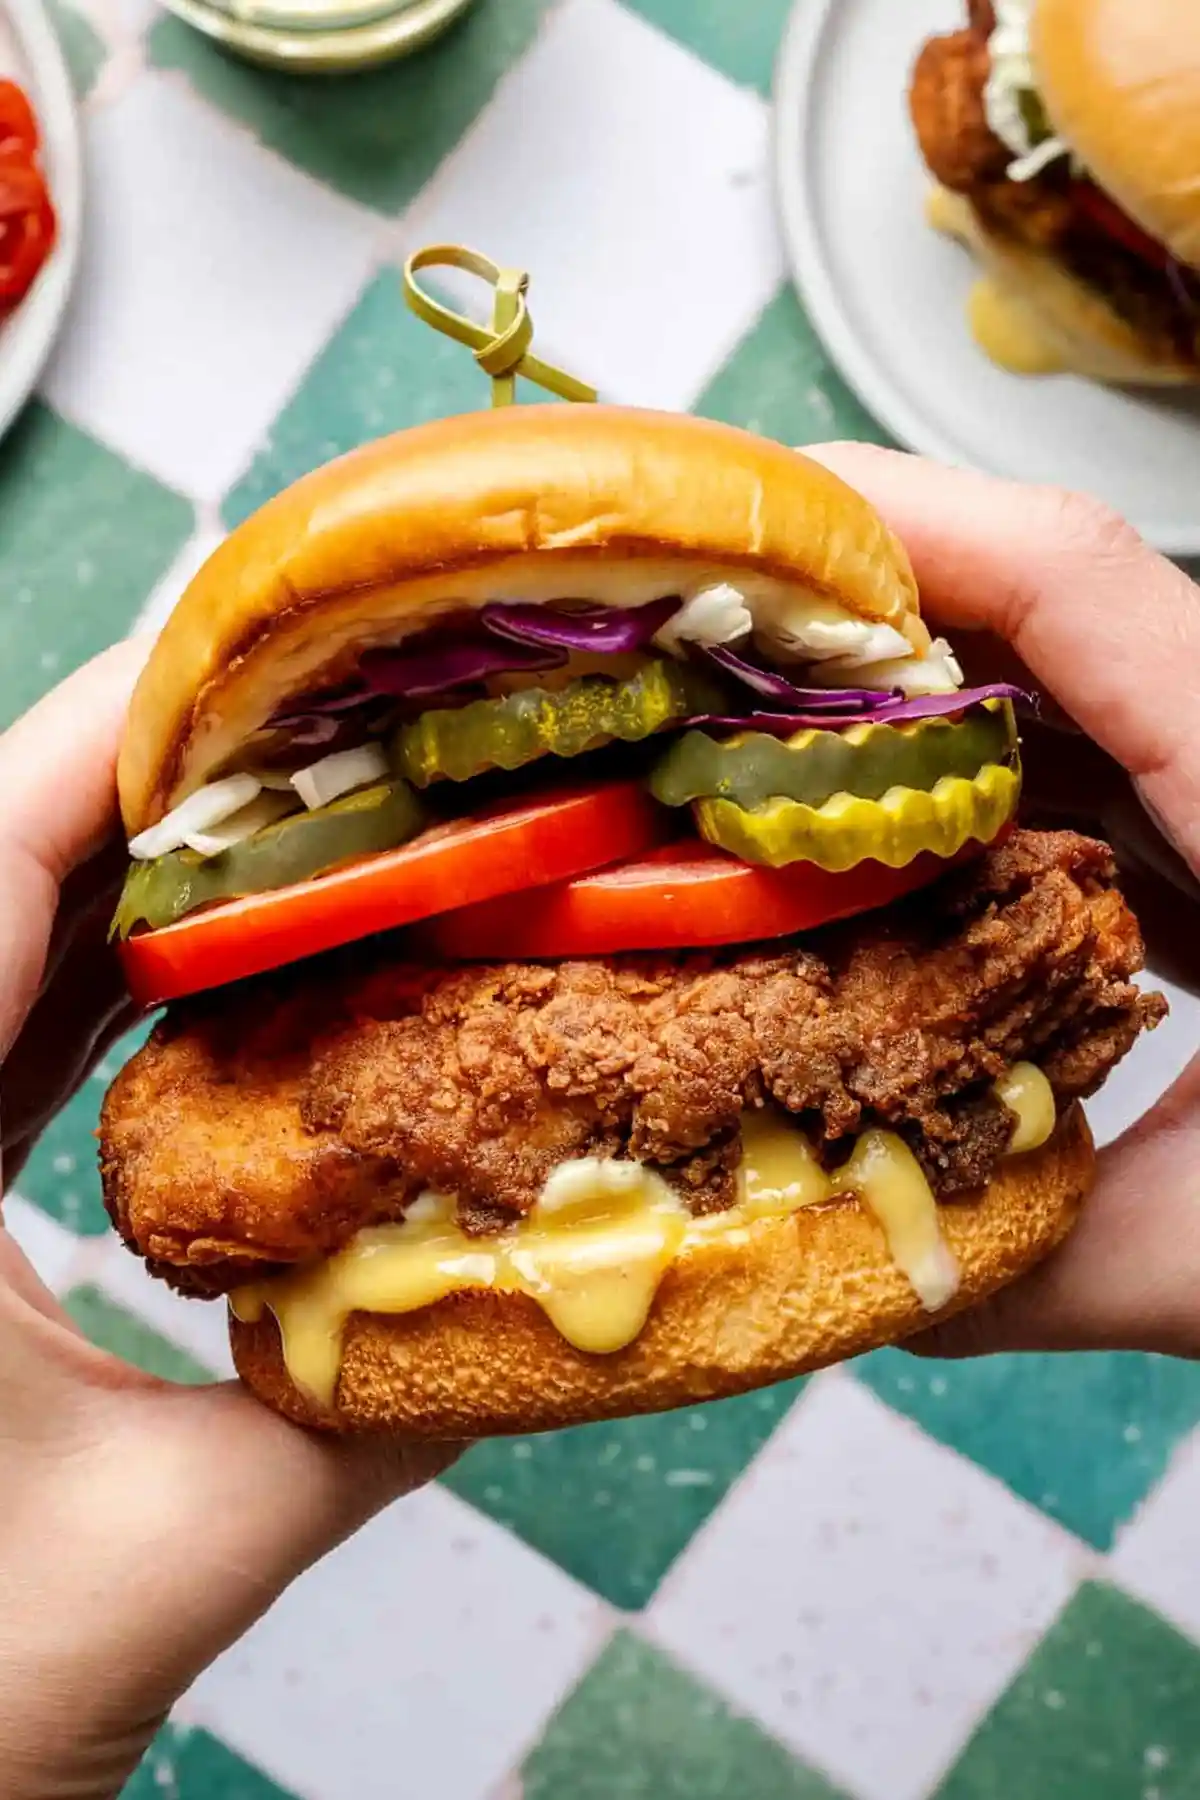
List of ingredients
- 4 large chicken breasts (about 2.5 to 3 lbs)
- 1 cup buttermilk
- 2 tbsp paprika
- 1 tsp kosher salt
- 1/8 tsp pepper
- 1 and 1/2 tsp garlic powder
- 1 large egg
- 2/3 cup mayonnaise
- 1/4 cup honey mustard
- 2 tbsp honey
- 1 and 1/2 cups all-purpose flour
- 1/3 cup + 1 tbsp corn starch
- 1 and 3/4 tsp salt
- 1 and 1/4 tsp baking powder
- 1 tbsp paprika
- 1 tbsp garlic powder
step-by-step instructions
- Step: Mix all chicken marinade ingredients together in a large tupperware container. Slice chicken breasts in half so they are not so thick. Toss chicken in the marinade mixture, pop the lid on, and let sit in the fridge for 1-2 hours.
- Step: Stir all sauce ingredients together, and adjust to taste. Store in the fridge until ready to use.
- Step: Add about 1 inch of vegetable oil to a sturdy pan or dutch oven and let it heat up over medium heat to 350℉. Set a cooling rack over a baking sheet and line the cooling rack with a few paper towels.
- Step: Whisk together the dry mix ingredients in a large shallow bowl.
- Step: Coat each piece of chicken in the dry mix, flipping each piece over and back a few times to make sure it is well coated. Fry 2-3 pieces at a time for about 2 minutes on each side, or until golden brown. Check for doneness in the thickest part of each piece of chicken with an instant read thermometer until it reaches 165℉.
- Step: Place your cooked chicken pieces on the prepared rack to let the oil drain and to let them cool a bit. Serve with toasted brioche buns, honey mustard sauce, slaw, tomato slices, and pickles.
Maintaining the Perfect Fry Temperature
Monitoring Heat Fluctuations
Frying requires active management of your heat source because the temperature of the oil naturally drops whenever you introduce cold chicken. Keep your instant-read thermometer handy and adjust your burner between batches to keep the oil steady at 350℉. If you notice the oil cooling down too much, wait a few minutes before adding the next batch.
The Role of the Test Piece
Always start by frying a small piece of chicken or a piece of the trim before diving into your main cutlets. This test piece acts as a benchmark to ensure your heat is not too high, which would burn the outside before the inside finishes cooking. If the crust turns dark brown immediately, reduce your flame slightly and check the oil again.
Ensuring Maximum Crunch and Texture
Why Corn Starch Matters
The addition of corn starch to the flour mix is a professional trick for achieving a lighter, glass-like crunch. Unlike pure flour, which can sometimes become heavy or bread-like, corn starch inhibits gluten development and results in a crispier finish that stays crunchy even after cooling. Never skip this component if you want that signature restaurant-style snap.
Importance of the Resting Rack
Never place freshly fried chicken directly onto a plate or paper towels without a cooling rack underneath. Placing hot chicken directly on a flat surface traps steam, which quickly softens the crust and ruins your hard work. Using a wire rack allows air to circulate underneath the pieces, keeping the entire exterior uniformly crisp until the moment of service.
Optimizing Your Prep and Storage
Handling Leftovers Properly
To store your leftovers, place the cooled fried chicken in an airtight container once it has reached room temperature. It will remain safe and flavorful in the refrigerator for up to 4 to 5 days. Keeping the chicken separate from the buns and sauces until you are ready to eat will prevent the sandwich components from getting soggy.
Reheating for Fresh Texture
When you are ready to eat your leftovers, avoid the microwave as it turns the crust soft and rubbery. Instead, place the chicken in a preheated oven or toaster oven at 375℉ for about 8 to 10 minutes. This method helps revitalize the crunch of the breading while heating the interior to a safe and juicy temperature.
Essential Topping Combinations
Creating the Perfect Slaw
A classic cabbage slaw adds a necessary cool crunch that contrasts beautifully with the hot, savory chicken. You can make a quick slaw by tossing shredded cabbage and carrots with a bit of vinegar, salt, and a dash of sugar. Adding this just before serving provides a refreshing moisture that complements the honey mustard sauce.
Choosing Your Pickles
The tanginess of a high-quality dill pickle is the ideal foil for the richness of fried chicken. Opt for thick-cut slices or chips, as they provide a firmer texture that holds up well against the soft brioche bun. If you prefer a bit of heat, consider using spicy bread-and-butter pickles for a unique flavor profile.
Common Frying Troubleshooting
How to Avoid Soggy Crusts
A soggy crust usually occurs when the oil temperature is too low or when the chicken is crowded in the pan. If the oil isn’t hot enough, the flour absorbs the oil instead of forming a crisp seal, resulting in a greasy texture. Always work in small batches to ensure the oil temperature remains consistent throughout the entire cooking process.
Why Flour Falls Off
If you find that the breading is separating from the meat, it is often due to the chicken being too wet before dredging. Ensure the chicken pieces are well-coated in the buttermilk marinade and allowed to drain slightly before entering the dry flour mix. Pressing the flour firmly into the meat with your hands also helps create a tighter bond that will survive the hot oil bath.
Frequently Asked Questions
Can I substitute the buttermilk?
If you do not have buttermilk, you can create a substitute by mixing one cup of regular milk with one tablespoon of lemon juice or white vinegar. Let the mixture sit for about five to ten minutes until it thickens slightly before using it as the marinade base.
How do I know the oil is ready without a thermometer?
While an instant-read thermometer is highly recommended, you can test the oil by dropping a tiny pinch of flour or a small breadcrumb into it. If the oil bubbles aggressively and the crumb turns golden brown within seconds, it is generally ready for frying. However, a thermometer remains the only way to be certain that your oil is at the specific 350℉ target.
Can I prepare the chicken ahead of time?
You can prepare the marinade and store the chicken in the refrigerator for up to two hours, which actually allows the flavors to penetrate the meat more effectively. However, avoid breading the chicken too long before frying, as the flour will absorb moisture from the chicken and lose its ability to create a crisp crust. Dredge each piece immediately before you plan to drop it into the hot oil for the best results.
Print
Crispy Fried Chicken Sandwiches with Tangy Honey Mustard Sauce
- Total Time: 60 minutes
- Yield: 8 servings 1x
- Diet: Non-Vegetarian
Description
Fried Chicken Sandwiches are the ultimate summer food! These crispy chicken sandwiches are made with basic ingredients and a technique simple enough for anyone to pull off. Load up your sandwiches with plenty of toppings – pickles, slaw, tomatoes, and of course, honey mustard sauce! Serve on a toasted brioche bun for summertime perfection!
Ingredients
- 4 large chicken breasts (about 2.5 to 3 lbs)
- 1 cup buttermilk
- 2 tbsp paprika
- 1 tsp kosher salt
- 1/8 tsp pepper
- 1 and 1/2 tsp garlic powder
- 1 large egg
- 2/3 cup mayonnaise
- 1/4 cup honey mustard
- 2 tbsp honey
- 1 and 1/2 cups all-purpose flour
- 1/3 cup + 1 tbsp corn starch
- 1 and 3/4 tsp salt
- 1 and 1/4 tsp baking powder
- 1 tbsp paprika
- 1 tbsp garlic powder
Instructions
- Step: Mix all chicken marinade ingredients together in a large tupperware container. Slice chicken breasts in half so they are not so thick. Toss chicken in the marinade mixture, pop the lid on, and let sit in the fridge for 1-2 hours.
- Step: Stir all sauce ingredients together, and adjust to taste. Store in the fridge until ready to use.
- Step: Add about 1 inch of vegetable oil to a sturdy pan or dutch oven and let it heat up over medium heat to 350℉. Set a cooling rack over a baking sheet and line the cooling rack with a few paper towels.
- Step: Whisk together the dry mix ingredients in a large shallow bowl.
- Step: Coat each piece of chicken in the dry mix, flipping each piece over and back a few times to make sure it is well coated. Fry 2-3 pieces at a time for about 2 minutes on each side, or until golden brown. Check for doneness in the thickest part of each piece of chicken with an instant read thermometer until it reaches 165℉.
- Step: Place your cooked chicken pieces on the prepared rack to let the oil drain and to let them cool a bit. Serve with toasted brioche buns, honey mustard sauce, slaw, tomato slices, and pickles.
Notes
If short on time, even 30 minutes of marinating will do the trick. Always use an instant-read thermometer to check oil temperature and chicken internal temperature to ensure safety and perfect results.
- Prep Time: 30 minutes
- Cook Time: 30 minutes
- Category: Main Course
- Method: Frying
- Cuisine: American
Nutrition
- Serving Size: 1 piece
- Calories: 433 kcal
- Sugar: 8 g
- Sodium: 1198 mg
- Fat: 19 g
- Saturated Fat: 4 g
- Unsaturated Fat: 14 g
- Trans Fat: 0 g
- Carbohydrates: 35 g
- Fiber: 2 g
- Protein: 29 g
- Cholesterol: 107 mg