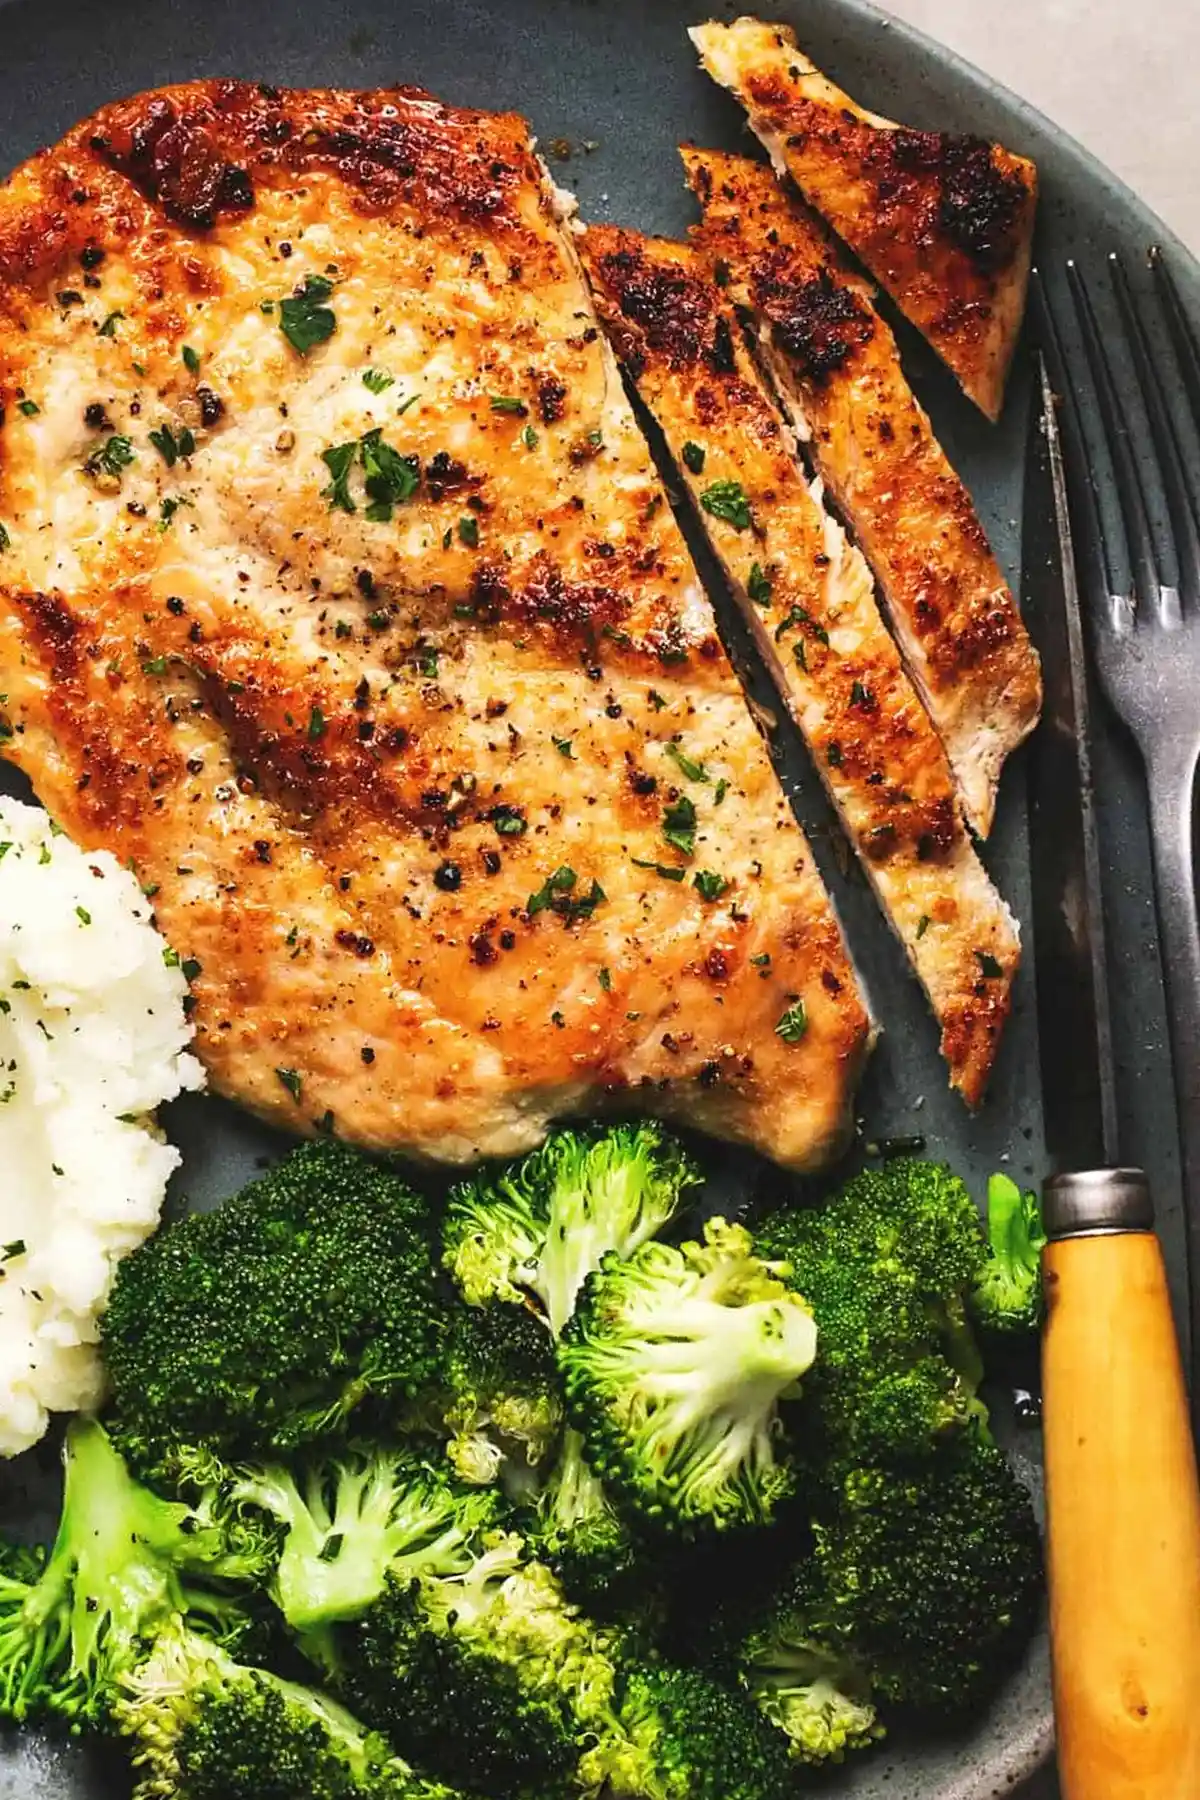
These crispy pan fried chicken breasts are the perfect solution for a quick, high-protein meal that delivers restaurant-quality results in under fifteen minutes. By mastering the technique of thin-cutlet preparation and high-heat searing, you can achieve a beautifully golden, caramelized exterior while keeping the meat tender and juicy throughout. This method relies on minimal pantry staples, making it an ideal candidate for busy weeknights when you want something satisfying without the complexity of elaborate culinary processes.
List of ingredients
- 1 large skinless, boneless chicken breast
- ½ teaspoon garlic powder
- salt to taste
- black pepper to taste
- ½ tablespoon olive oil
step-by-step instructions
- Step: Using a sharp knife, halve the chicken breast almost entirely down the middle so it opens like a book, but it is still one piece of chicken.
- Step: Place the chicken cut size down on the cutting board and gently bash it with the heel of your hand so the chicken is all of an even thickness.
- Step: Season both sides with the garlic powder, and generously with the salt and pepper.
- Step: Heat the olive oil in a heavy bottomed frying pan or non-stick skillet set over a medium high heat.
- Step: Once the oil is shimmering, cook the chicken for 3-4 minutes on each side, doing your best not to disturb the chicken as it browns to get a nice, crispy, caramelized crust.
Essential techniques for crispiness
Achieving uniform thickness for even browning
The most common reason home cooks fail to achieve a perfect sear is inconsistent meat thickness. When one part of the chicken is thicker than the rest, the thinner edges become overcooked and rubbery while the center remains undercooked. By pounding the chicken to a uniform thickness, you ensure every square inch of the surface makes contact with the hot oil simultaneously, which is the only way to obtain a consistent golden color across the entire cutlet.
Selecting the right pan for high-heat searing
A heavy-bottomed skillet is your best friend when pan-frying protein. Cast iron pans are particularly effective because they retain heat exceptionally well, meaning the temperature of the pan won’t plummet the moment the room-temperature chicken hits the surface. If you use a thin, lightweight pan, the heat transfer is often uneven, leading to burnt spots in the middle and pale, soggy patches elsewhere, which destroys the texture of your crust.
Managing oil temperature during the cooking process
When oil is too cold, the chicken will soak up the grease rather than searing, leading to a heavy and unappetizing mouthfeel. Conversely, if the oil reaches its smoke point, it will impart a bitter, burnt flavor to the chicken. Watch for the oil to shimmer like a liquid mirror; if you see tiny wisps of smoke rising, take the pan off the heat immediately for a few seconds to stabilize the temperature before adding your seasoned chicken breasts.
Customizing your chicken seasoning
Experimenting with dry spice rubs
While garlic powder, salt, and pepper represent the classic approach, you can easily adapt the flavor profile to match different side dishes. Consider adding smoked paprika for a hint of campfire-like depth, or use dried oregano and thyme if you are pairing the chicken with Mediterranean-inspired sides like feta-topped salads or roasted olives. Always combine your dry spices in a small bowl first to ensure they are evenly distributed before sprinkling them over the meat, which prevents clumping and seasoning imbalances.
Applying fresh herbs for finishing
Since this dish cooks so rapidly, fresh woody herbs like rosemary or sage can be added directly to the pan during the final minute of cooking. The residual heat from the oil will toast the herbs, infusing the chicken with their aromatic oils without the risk of the herbs burning and turning acrid. Simply toss a few sprigs into the pan during the flip, and then discard them before serving to keep the presentation clean and professional.
Addressing common kitchen obstacles
Why the crust sticks to the pan
If you find that your chicken is sticking to the pan, it is almost always because you are attempting to flip it too early. Protein naturally bonds to the cooking surface during the initial stage of the Maillard reaction; as the crust forms and becomes crispy, the bond breaks, and the meat will naturally release from the pan surface. If it feels like the meat is glued to the metal, wait another 30 seconds and try again; the browning process is simply telling you it needs more time.
Preventing the chicken from curling
Chicken breasts contain connective tissues that can cause the meat to shrink or curl when exposed to high heat, which lifts the edges away from the pan and leads to uneven cooking. You can mitigate this by making very shallow score marks in the thickest part of the chicken, or by ensuring the chicken is thoroughly flattened before it enters the pan. Keeping the meat weighted down for the first thirty seconds using a secondary heavy lid can also help keep the chicken perfectly flat throughout the sear.
Ensuring food safety without overcooking
Pan-frying can be a high-stakes cooking method because the window between perfectly cooked and dry is very narrow. Investing in a digital instant-read thermometer is the most practical way to eliminate guesswork. Insert the probe into the thickest part of the chicken, and as soon as it reads 165 degrees Fahrenheit, remove it from the skillet immediately. The residual heat will continue to cook the surface of the meat, so pulling it off the heat precisely at the target temperature is the key to success.
Serving strategies and meal prep
Pairing with vibrant vegetable side dishes
The simplicity of this chicken makes it a versatile canvas for a variety of vegetable pairings. Because the chicken is savory and slightly salty from the sear, it benefits from sides that offer a bright contrast, such as charred asparagus with lemon zest or a crisp green salad tossed in a sharp vinaigrette. If you want to keep the meal comforting, mashed root vegetables or roasted baby potatoes provide a classic textural balance that soaks up the juices from the pan.
Building sandwiches with leftover cutlets
These cutlets are significantly better than standard deli meat when used for sandwiches. To make the ultimate sandwich, layer the cold or warm chicken on toasted sourdough bread with a layer of basil pesto, fresh arugula, and thinly sliced tomatoes. The crunch of the pan-fried crust provides a satisfying contrast to the soft bread and crisp vegetables, elevating a simple lunch into a gourmet experience that holds up well for several hours if you are packing it for work.
Storing and reheating for maximum quality
Leftover chicken can be stored in an airtight glass container in the refrigerator for up to four days. To maintain the crispiness of the crust when reheating, avoid the microwave at all costs, as the moisture released during the process will inevitably turn the breading soft and limp. Instead, place the chicken in a preheated oven at 350 degrees Fahrenheit for about 8 to 10 minutes, or warm it quickly in a clean, dry skillet over medium heat until the exterior regains its original texture.
Frequently Asked Questions
Can I use chicken tenders instead of full breasts?
Yes, but you will need to adjust the cooking time significantly because chicken tenders are smaller and thinner. Sear them for only 1 to 2 minutes per side to prevent them from becoming tough, as they reach the safe internal temperature much faster than a standard butterfly-cut chicken breast.
What is the benefit of butterflying the chicken?
Butterflying increases the surface area of the meat, which allows for faster, more even cooking. It also ensures that the seasoning is applied to more surface area, giving you a better crust-to-meat ratio in every single bite you take.
How do I know if my oil is hot enough?
The best indicator is the shimmering surface of the oil, but if you want to be precise, you can test it by placing the tip of a wooden spoon handle into the oil. If tiny, steady bubbles form around the wood immediately, the oil is at the correct temperature for frying. If the oil stays still, it is too cold; if it pops and bubbles violently, it is too hot.
Print
Crispy Pan Fried Chicken Breast
- Total Time: 15 minutes
- Yield: 1 serving 1x
- Diet: High Protein
Description
These crispy pan fried chicken breasts are so easy to prepare and delicious to eat. Made with a simple seasoning and quickly pan-seared in olive oil, dinner is only 15 minutes away!
Ingredients
- 1 large skinless, boneless chicken breast
- ½ teaspoon garlic powder
- salt to taste
- black pepper to taste
- ½ tablespoon olive oil
Instructions
- Step: Using a sharp knife, halve the chicken breast almost entirely down the middle so it opens like a book, but it is still one piece of chicken.
- Step: Place the chicken cut size down on the cutting board and gently bash it with the heel of your hand so the chicken is all of an even thickness.
- Step: Season both sides with the garlic powder, and generously with the salt and pepper.
- Step: Heat the olive oil in a heavy bottomed frying pan or non-stick skillet set over a medium high heat.
- Step: Once the oil is shimmering, cook the chicken for 3-4 minutes on each side, doing your best not to disturb the chicken as it browns to get a nice, crispy, caramelized crust.
Notes
If you’re cooking multiple chicken breasts at the same time be sure not to overcrowd the pan as it will stop the chicken becoming golden and crispy. Work in batches instead.
- Prep Time: 5 minutes
- Cook Time: 10 minutes
- Category: Main Course
- Method: Pan Fried
- Cuisine: American
Nutrition
- Serving Size: 1 breast
- Calories: 324 kcal
- Sugar: 0.04 g
- Sodium: 263 mg
- Fat: 13 g
- Saturated Fat: 2 g
- Unsaturated Fat: 9 g
- Trans Fat: 0 g
- Carbohydrates: 1 g
- Fiber: 0.1 g
- Protein: 48 g
- Cholesterol: 145 mg